Photographing Urban Decay - Take 1
Photographing is a tricky art. A photograph must convey to a large section of audience the exact thoughts that went through the mind of the photographer when (s)he took the photograph. Some times, just pointing and shooting is not sufficient. Sometimes, we have to go deeper.
This is a tutorial on how I managed to create (what I hope is) a relatively decent photograph showcasing urban decay. As with all my posts, here are the finished goods...

The photograph was taken of a backlight building, which had decayed sufficiently. However, cameras don't choose the most appropriate effect for a photograph. This is the picture SOOC.

It really does not bother me that the SOOC image does not match my vision. As long as a picture is correctly exposed and composed, it can be processed sufficiently to match my vision.
I processed this image entirely in Raw Therapee, and refrained from using the GIMP. My second take, using Raw Therapee in conjunction with the GIMP, can be found here.
Fire up Raw Therapee, and load the photograph. The first thing I do is to set the profile to "Insert Copyright". This is a custom profile I created, based on neutral. It adds EXIF copyright information, and erases any previous edits I made.

The next step is to correct exposure and increase contrast.

Followed by a high contrast tone curve

increasing the colour vibrance.
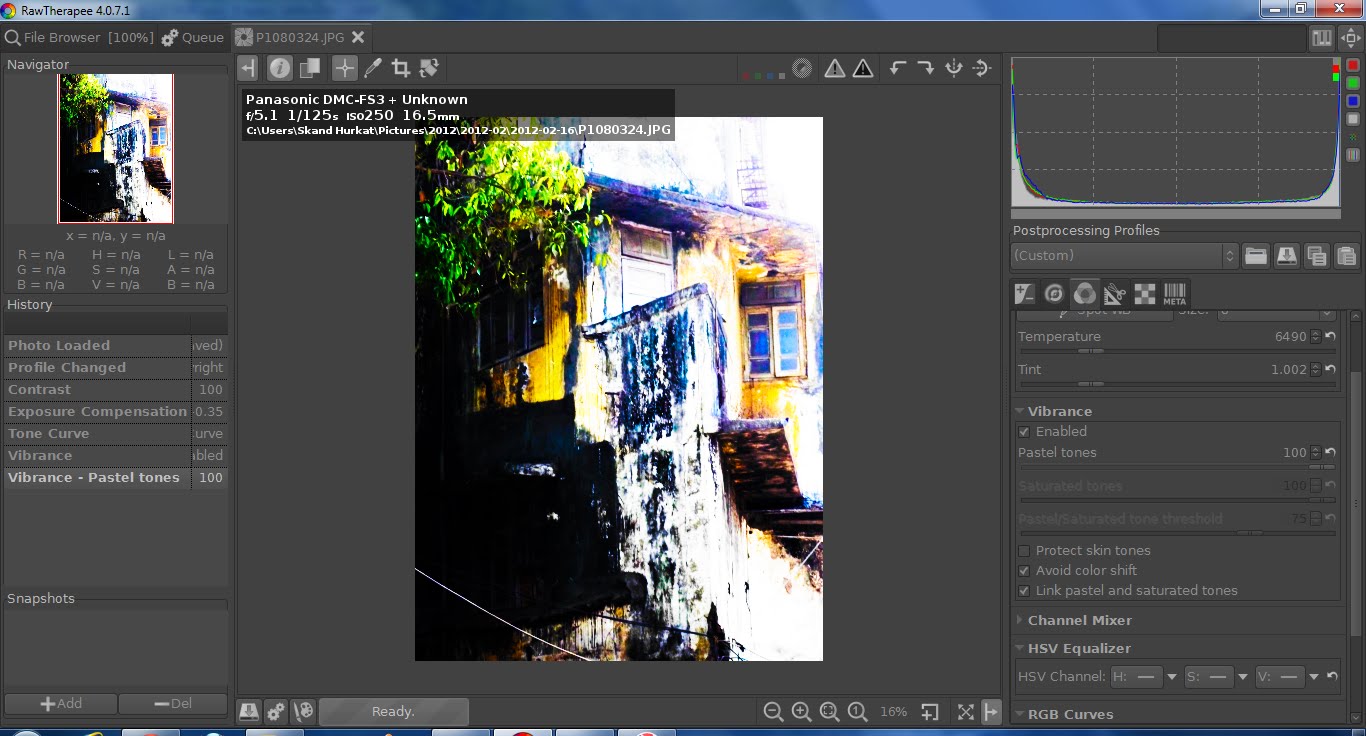
And the reverse step of decreasing the saturation. This is because I wanted to equalize saturation across the image.

The next step involves correcting the RGB curves


I make the image warmer to get rid of some of the excess blue that creeps into the image, and also to give it a more desolate feel

Finally, I add a tight crop to get rid of that distracting wire in the foreground.

And there you are! An image showcasing urban decay.


Nice one!!
ReplyDeleteThank you!
Delete