Tutorial: Grunge up an image using Luminance HDR and the GIMP
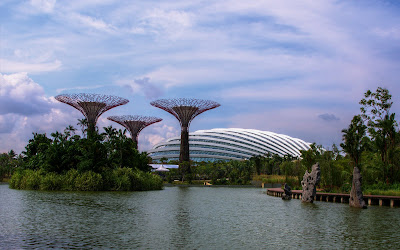
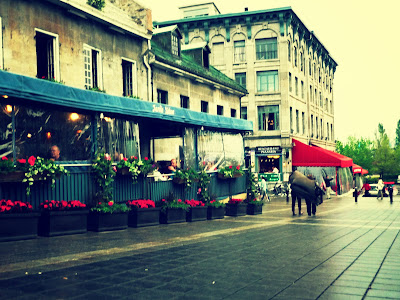
In this tutorial, I'll introduce you to my workflow which will allow you to "grunge" up an image using Luminance HDR and the GIMP. I'll show you how to make images look like this
from an image which looks like this without any processing. Of course, I repeat, since the original image is just a DNG file, there's no way that I can say that this is how the image would have appeared straight out of the camera, as the camera would have applied some basic post processing algorithms to improve the image, had I saved it as a JPG. This is just the image with the "neutral" profile in Raw Therapee.The original image lacks detail in the sky. The clouds in the sky were rather dramatic, but a linear output profile will not allow as much details as I would have liked. So, there's just one way to go: don't use a linear output, or even a gamma corrected output. Instead, I will tone-map the image to allow it to express all the dramatic details in the clouds in the sky.
So, the first step is to load the image in Raw Therapee with the "neutral" profile, add noise correction, lens correction, CA correction, crop, and then export the image to a 16 bit TIFF file. My camera outputs 14 bit DNG files, so converting to 16 bit TIFF should, in theory preserve all data. Note that TIFF is just a container, and the data stored can be compressed in both lossy and lossless fashion, as well as remain uncompressed.
The next step involves loading up the image in Luminance HDR. This is a single image HDR, contrary to the very concept of HDR. In fact, technically, it's not even HDR, but just a tone-mapped image.
since we are not making an HDR image, we don't really need any specific profile. Profile 1 will do.Tone-map with Mantiuk '06 with contrast factor 0.1, saturation factor 2 and detail factor 1.0. As Mantiuk desaturates the image, saturation factor has to be pushed up to have an image with acceptable saturation.
Next, tone-map with Fattal, with alpha 1.0, beta 0.9, saturation 1.2 and noise reduction 0.2. Remember that Fattal introduces a lot of noise, so noise reduction is essential. However, the noise reduction is an iterative process, so very high values for noise reduction will lead to insanely high processing times.
This concludes the Luminance HDR part of the workflow. The next part involves merging the images to give us the desired image. For this, we'll fire up the GIMP, and load the base image (NOTE: This step is useful as Luminance HDR strips off the EXIF data from the images, so we need the base image to get it back in. However, as TIFF does not contain EXIF data, this step is unnecessary.)
Next, load the two images as layers, with Mantiuk positioned over Fattal.
Change the mode of the Mantiuk layer to multiply, and opacity to 80%. The Mantiuk layer contains more detail than the Fattal, but the Fattal layer contains more colour. Multiply helps merge the two. (Note: You can also try Value)
and overwrite the original imageThis concludes the GIMP use in the workflow. Next, open the image in your favourite RAW processor (as long as it's FOSS [:)]), Raw Therapee in my case, because I was using Windows when writing this software. (Psst... Someone is working hard to port Darktable on Windows. Shh!)
I changed the profile to default-CC-BY-NC-SA, which is default with the addition that it inserts a CC-BY-NC-SA copyright notice in the image metadata. Next, it's the usual changes, which include exposure, brightness, contrast, saturation, highlights, you know the deal... A bit of vibrance never goes wrongAnd that's it. Now, just export the image as a JPG
How did you like this tutorial. Share it with your friends and/or leave a comment below!


Did you know that RawTherapee has a built-in tone mapping module? Although its options and parameters are rather limited, it has helped me a lot with controlling image contrast. I've never seen such a capable tone mapping feature in any other RAW workflow software.
ReplyDeleteYes, I've used the tone-mapping plugin in Raw Therapee. There are two reasons for not using the plugin.
Delete1)It does not allow me to choose the method of the tone-mapping
2)It introduces a lot of noise into the image
An interesting trivia about this image is that I had actually used the tone-mapping plugin in Raw Therapee initially, but I was extremely unhappy with the noise. That's why I decided to move the image to Luminance HDR, as the tone-mapping operators there are much more refined. However, this gave me a lot of trouble with the RAW processing, as that is not something that Luminance does very well. Hence, I developed this workflow to combine Luminance with a RAW processing software like Darktable or Raw Therapee.
What kind of problems are you experiencing with the RAW processing in Luminance HDR? We have been working a lot on that particular aspect to improve things, but surely there is a lot of things that can be done to improve it even more. In case, a feedback would help me to spot wrong/missing features.
Delete@D.asia:
DeleteOverall, the raw file is imported rather well (no hiccups in the workflow or during the import process), but the software does not give me enough freedom with correcting for noise, lens distortions, ca correction, and such. This means that when tone mapping with certain operators (Mantiuk 06 or Fattal for example), the noise and CA get amplified leading to a not-so-good image.