Converting a photograph into a colour sketch
Sometimes, you need to just add a hint of artistic touch to your images. This is when you look forward to getting one of those cameras with the artistic filters. Tell you what, you can achieve those effects in any image using simple FOSS.
This post shows how to create a colour sketch from an image. So, let us decide what constitutes a colour sketch.
- A limited number of colours
- Accentuated edges
In this post, I will try to achieve these effects and show how I obtained this image
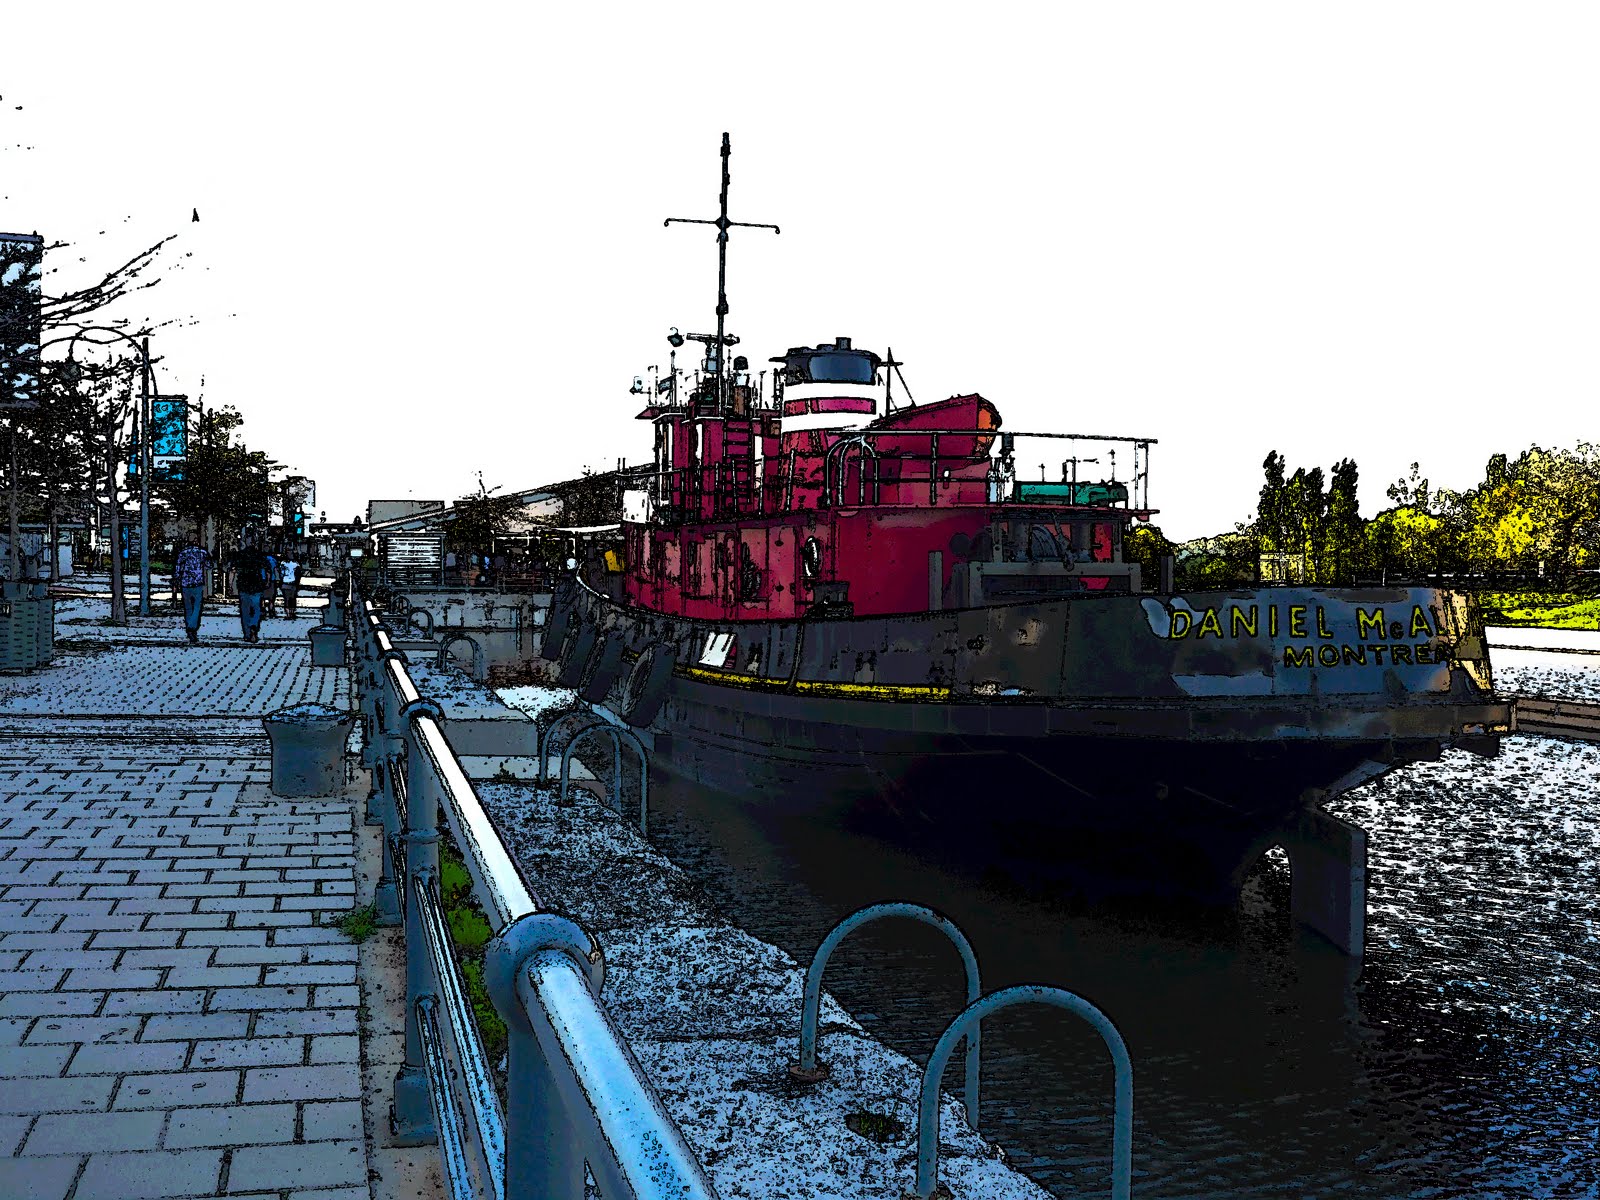

The image was first processed using RawTherapee to correct the usual stuff like exposure, white balance, and colour vibrancy. Then the image was loaded into the GIMP.
Duplicate the image into a new layer, and name the layer as Sobel.

Then, select the Sobel filter (which is an edge detecting filter) from Filters > Edge-Detect > Sobel. Make sure that you ignore the sign in the Sobel filter, as we need bi-directional edges.

Duplicate the Sobel filter and add it to a new layer called Sobel Curves. Desaturate and invert colours (both options found in the Colours menu).

Adjust the curves for the Sobel Curves layer by drawing a freehand curve like the one shown here.

This ensures that we are left with only the strong edges.

Right click on the Sobel Curves layer, click on add layer mask. In the dialogue box that shows up, select "greyscale copy of layer" and check the "invert mask option". This selects just the edges and leaves everything else transparent in the Sobel Curves layer.

Now, duplicate the base image layer, name the copy posterized. Make sure it sits below the Sobel Curves layer. Hide visibility on all layers except the Sobel Curves layer and the posterized layer. Posterize the posterized layer by selecting Colours > Posterize. Set the option to as many colours as you are comfortable with. I chose 16.

That's it. Enjoy your colour sketch.


Comments
Post a Comment