Understanding GIMP layer groups
This post is a very short introduction to layer groups, one of the latest additions to the GIMP. Since version 2.8 came out, I guess that there has been a lot of confusion regarding layer groups, and what they can, and cannot do. While this tutorial cannot claim to demonstrate all the uses, I hope that it will provide remarkable insight into the additional processing power that layer groups offer.
I'll show how I obtained this image
from this image Of course, this image was already processed much to my liking in Raw Therapee, so the following manipulations are more for academic rather than aesthetic reasons.To begin with, I load the image in the GIMP.
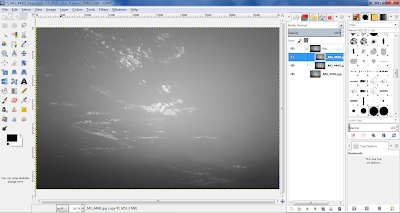
I then add a new layer group and name it "Pop", for reasons that will become apparent soon. I duplicate the original image twice, and add the copies to the Pop layer group.The next step involves desaturating the top layer in the Pop group
based on luminosityI then change the mode of the desaturated layer to overlay
and blur it using Gaussian blur IIR method with a size of 25x25 px (of course, this depends on the size of the original image)As the final step, I change the mode of the Pop layer group to multiply
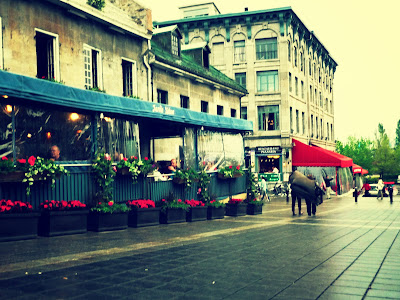
to obtain the final imageOf course, this tutorial is overly simplistic, but I hope that it provides enough insight into the power of layer groups. Without layer groups, I'd have to start with the same three copies, but after blurring the topmost desaturated layer, I'd have to merge it down, thereby introducing a destructive step in my workflow.
Layer groups get even more interesting in complex examples. Typically, I might want to change the colour of some region using a colour layer mode, then dodge/burn using an overlay/soft-light mode, and use the resulting image to merge with another image; the possibilities are endless; limited just by your skill and imagination.
Do share your experiences with layer groups. In case you have any tutorial that showcases the power of layer modes, do leave a comment below.


Comments
Post a Comment