Faking a diorama using the GIMP
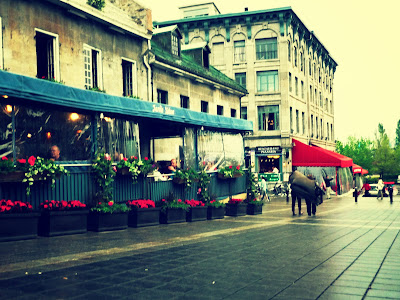
In this post, I'll show how to fake a miniature/diorama effect as in this picture.
A diorama/miniature effect can be achieved by ensuring that objects located further away are sufficiently blurred, just as would happen with a shallow depth-of-field (DOF) and a diorama.
A diorama works well only from a high vantage point. So, I went in the early morning, just around sunrise to a hill in the neighbourhood, on a morning jog. I took my camera with me. (After all, I'm going to have a few advantages with a tiny point-and-shoot camera which fits in my pocket, an advantage that the DSLR owners don't have.
I processed the initial image with RawTherapee so as to increase colour vibrancy, correct exposure and rotation, and those minor edits that we all need. Then, I saved the image and sent it over to the GIMP for processing.
One point which you must always remember when using the GIMP is to edit non-destructively. Which means, always make edits on a copy of the image. So, first step: duplicate the base layer. Then rename it to ...blurred. Add a Gaussian blur with radius 50 and IIR method. Make sure that the resulting image is sufficiently blurred.
Then add a layer mask, fill it with white (full opacity). A layer mask is a very useful tool for non-destructive editing. Basically, the layer mask is a transparency value, with black being completely transparent, and white being completely opaque, and shades of grey in between corresponding to a proportional value of transparency. Then, select the gradient tool, foreground colour to black, gradient from FG to transparency, and create a gradient as shown.
Already, you should be seeing effects like a diorama. However, this is not perfect. This method would have worked best if all points in a certain horizontal line are equally far from the lens, and the distance from the lens increases as we go higher up in the picture. This is not so. So, we must manually make up for these deficiencies. I use an airbrush with a sufficiently soft brush, and a very low pressure and rate, and slowly modify the layer mask until the tall building in the foreground is de-blurred. Then I added another gradient (white FG going to transparency) on the right of the image, as the buildings there are further from the lens. With a few such modifications, the layer mask now looks like this, as does the resulting image.
Then I group the layers into a group (note that this feature is in GIMP 2.7, and not in GIMP 2.6. I duplicate the group, and merge layers in the new group. I name the resulting layer ...bw. Go to colours, and desaturate the colours. Use Luminosity to desaturate. Then head over to curves, and adjust the curves to give a high contrast.
And that's it. You've created your first diorama. Feel free to comment on what you think of this tutorial.


Comments
Post a Comment